New three dimensional paintings - and some things I learned in the process
Experimenting
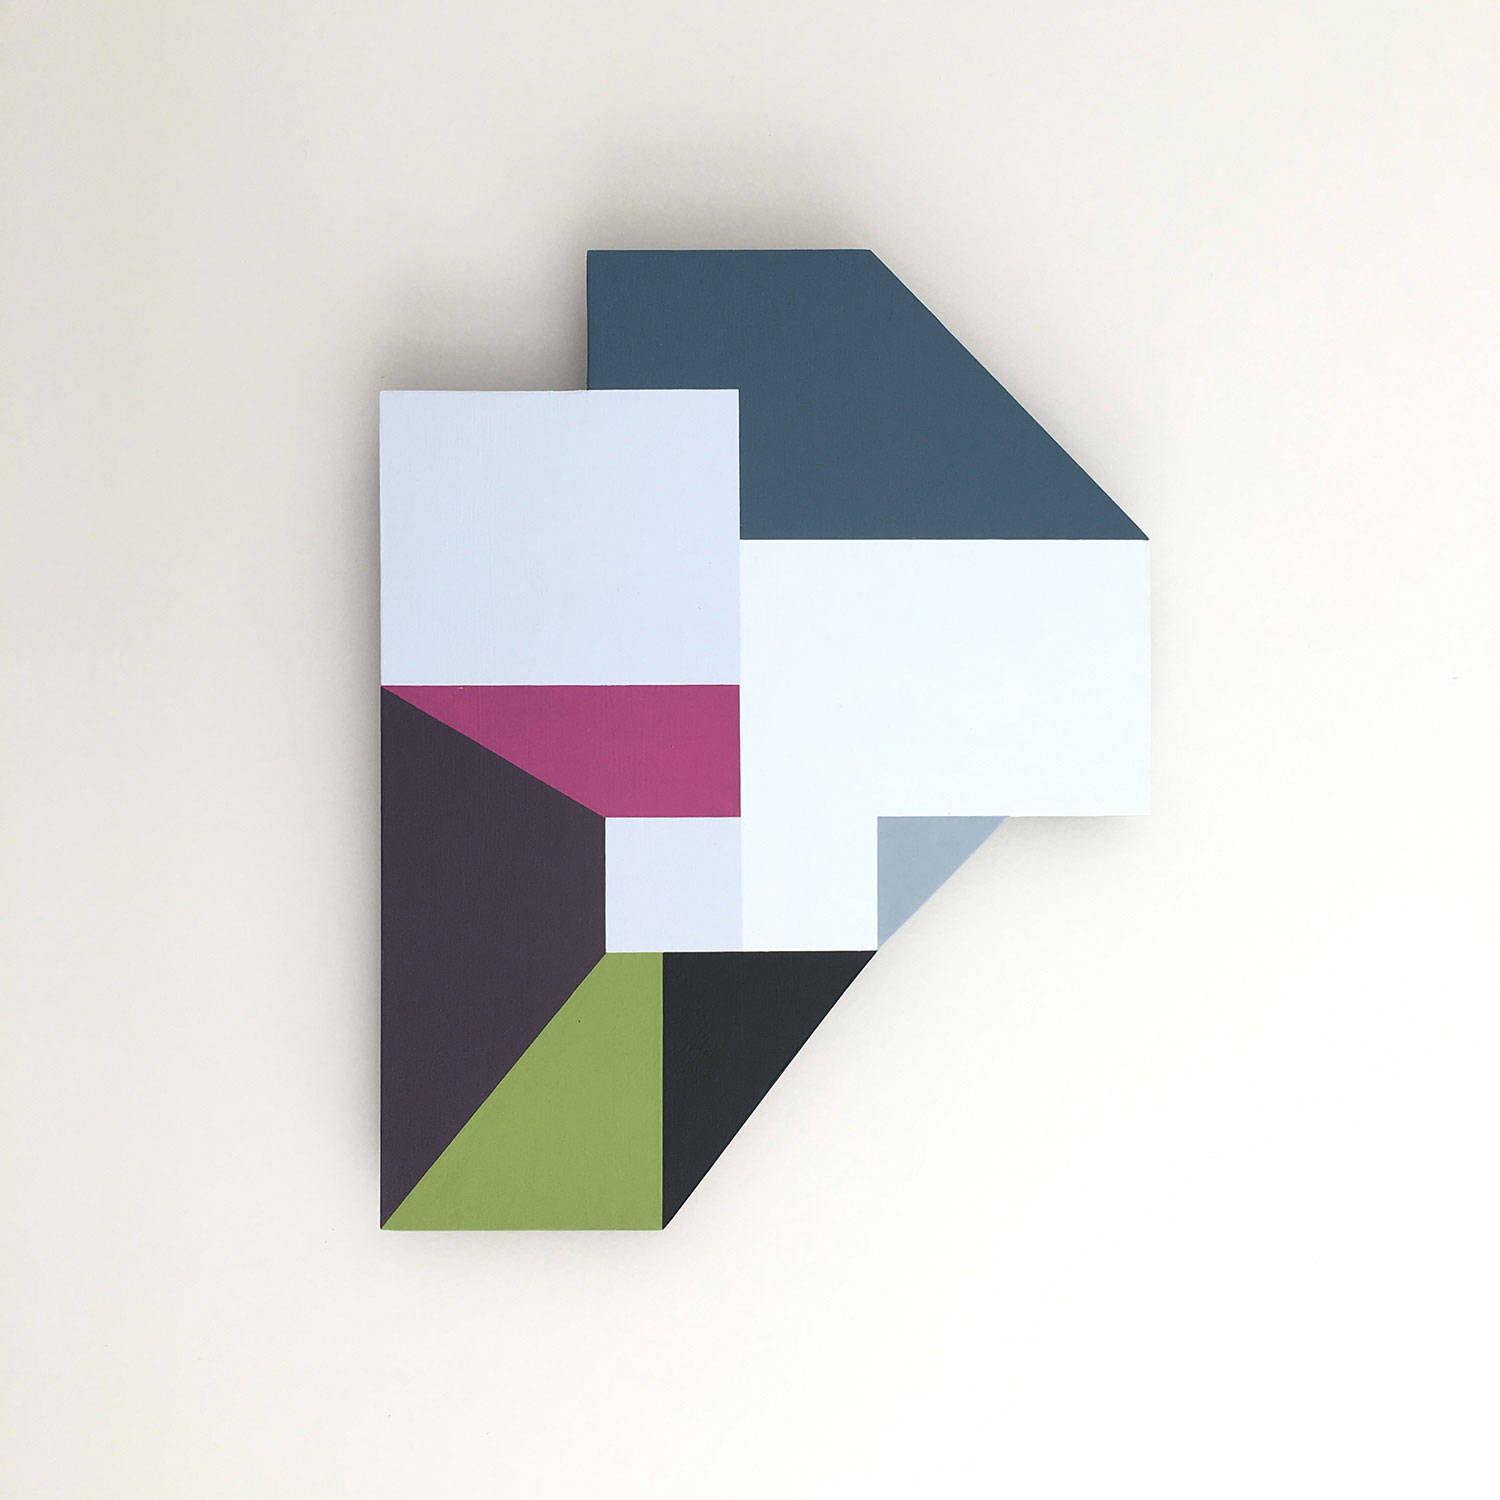
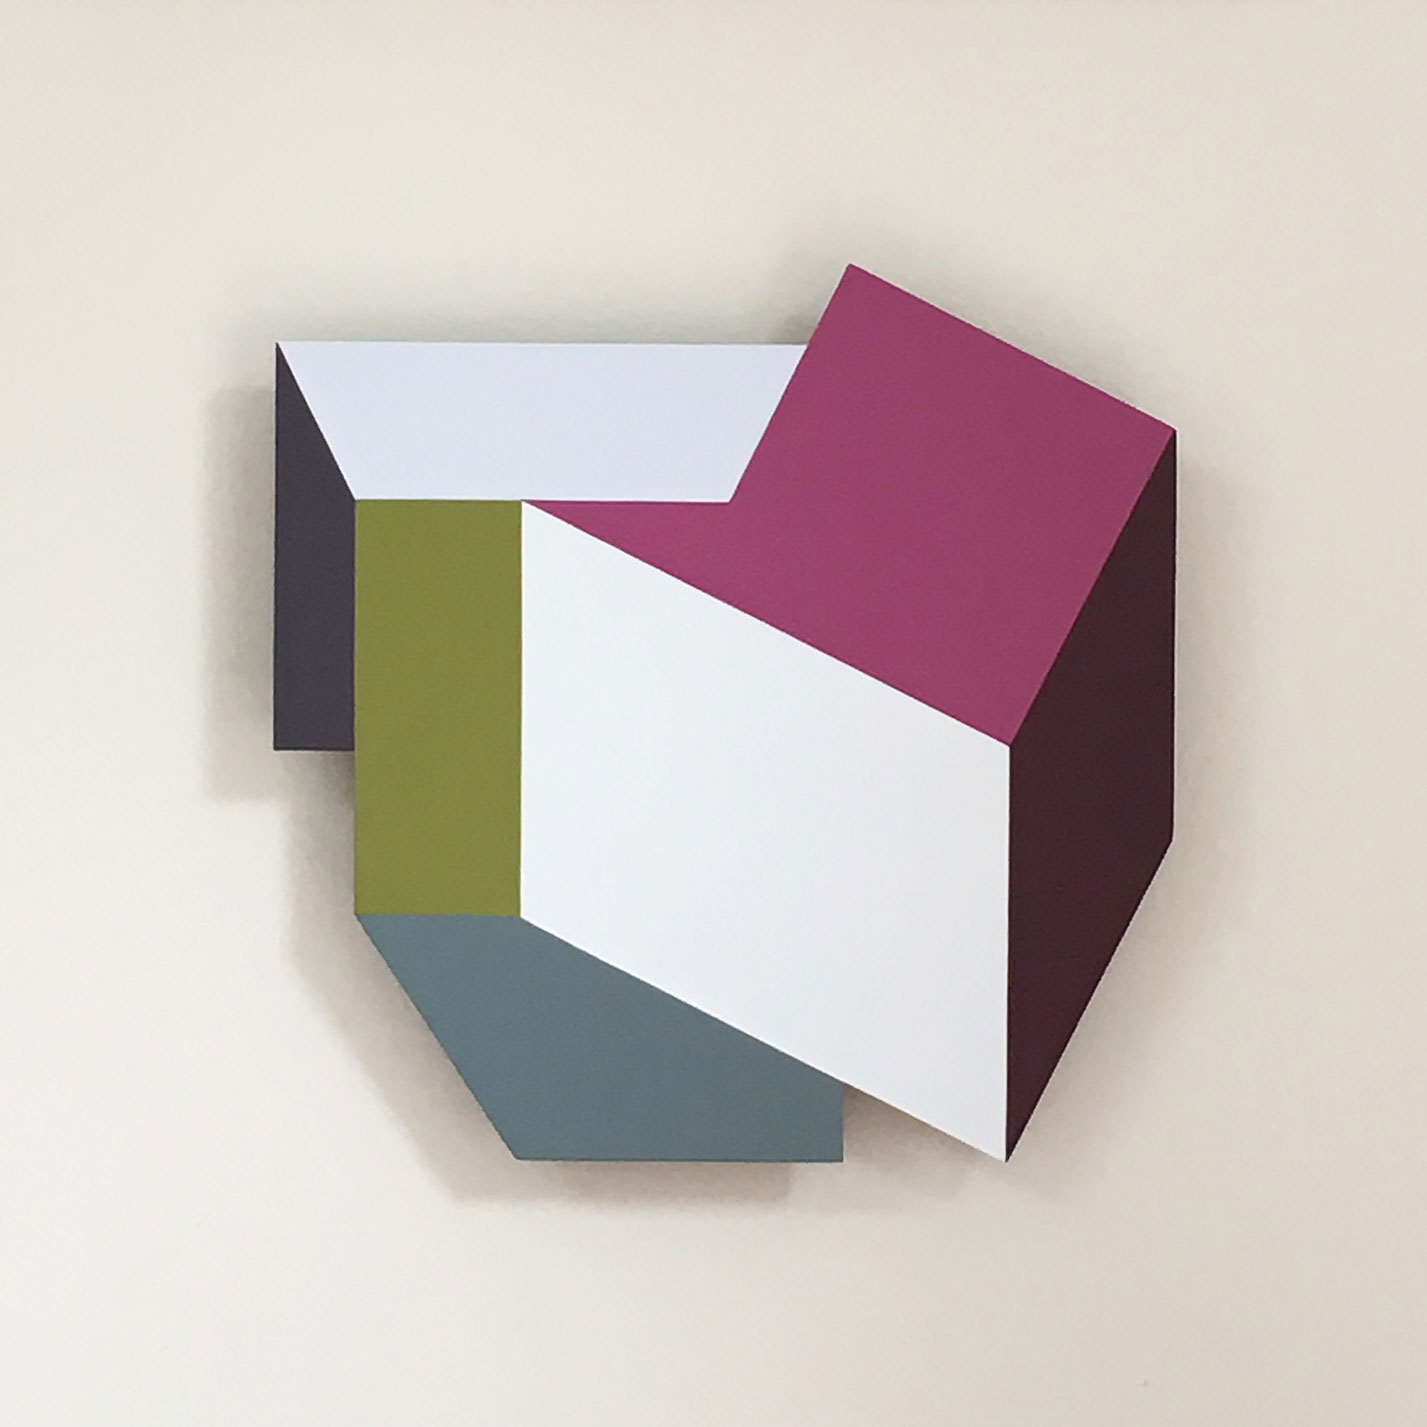
I’ve just completed a small number of little shaped paintings, mostly on aluminium, and one on mdf. I have plans to create a whole series (actually, several different series) of these, but I started with these five as an initial experiment, and so I could test techniques and refine the process - I wasn’t sure whether I would be able to get the end result I was hoping for.
My aim was to find that happy medium between precision and ‘hand made’. I wanted it to be evident, on close inspection, that these are hand made individually crafted pieces, but also to be highly precise, like little ‘jewels’!
Element 2018
I’m pleased with how these first few have turned out. They took a while - I made a few mistakes in the process, but I also learned a lot about the best techniques to achieve the result I want.
They are a further development of my work exploring geometric forms on a flat surface using colour and shadow to suggest three dimensions. They are also influenced by the gorgeous small sculptures of Ted Larsen, from USA - I am a huge fan of his work.
I had not painted (artistically that is) onto aluminium before so there was a learning curve in terms of getting the best paint adhesion and finish. Hard surfaces are quite different to painting on canvas!
Secret weapon
I have an aversion to using masking tape for hard edges because of the little ridge that it leaves, so all straight edges are hand painted.
I have a little ‘secret weapon’ that I use to achieve most of the straight lines, in the form of an old-fashioned ruling pen. It’s the kind that used to come with old architectural drafting sets, and was originally for use with ink. I’ve worked out how to use it with acrylic paint, and it does the job nicely, though It still requires a very steady hand to paint up to the edges (so not too many coffees beforehand!)
Ruling pen - my secret weapon for painting really straight edges without making tape
One of my ruling pens that I use on canvas has actually started wearing down on one edge due to the friction with the canvas, so I’m going to have to find a new source of them. I’m currently using old ones that belonged to my father (he was an architect) and one from when I trained as an industrial designer.
Design by accident
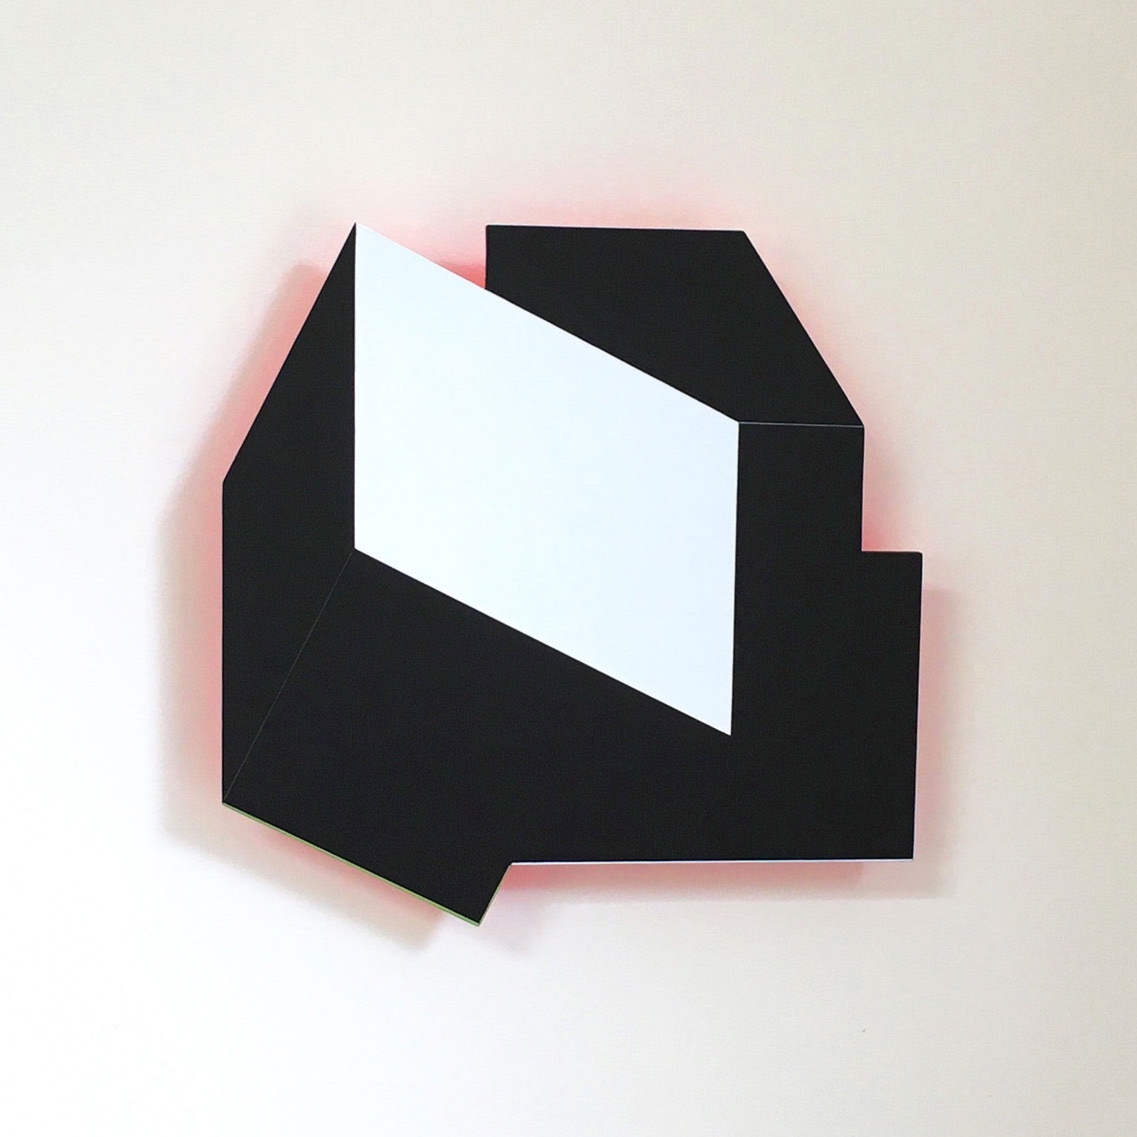
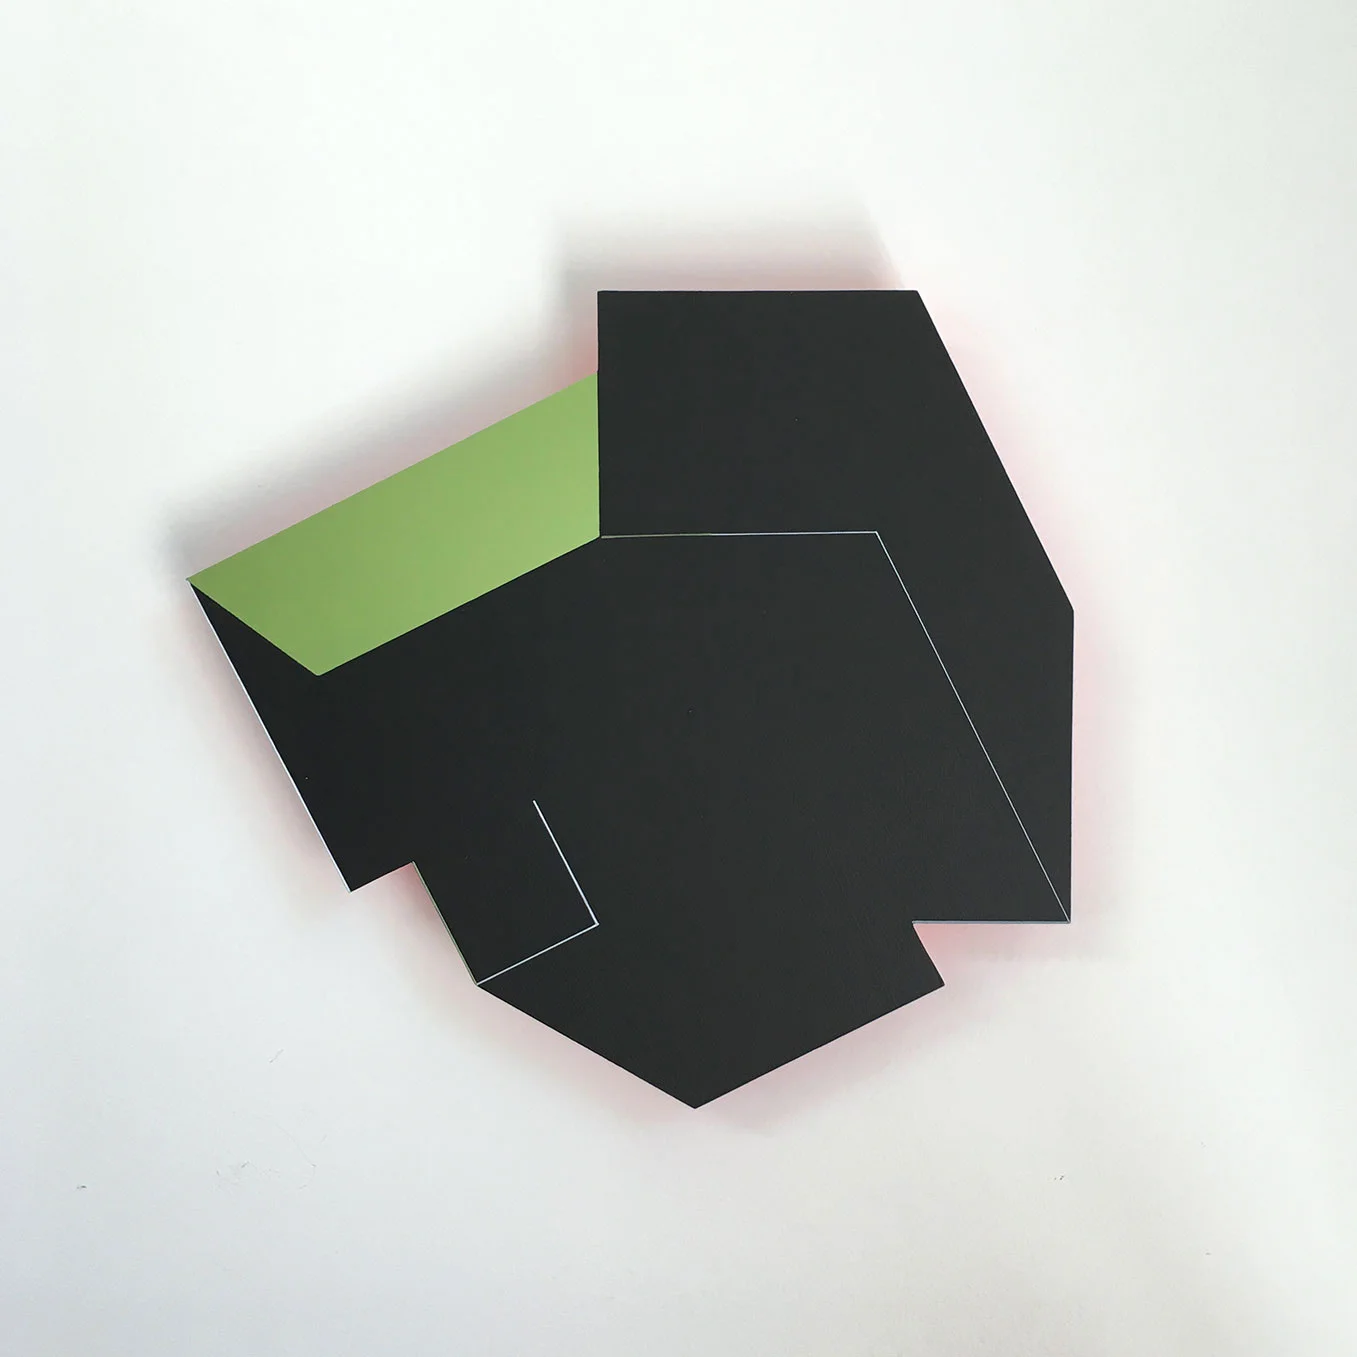
You will notice that three of these shaped pieces are almost monochrome, with very little detail. I kind of ‘stumbled’ upon the idea for these when I was working on the coloured designs on the computer, and making the pattern for the cutout shapes.
I really enjoy how sometimes in the process of turning layers on and off and grouping things together new designs emerge, almost with a life of their own. That’s what happened with these black works.
Glowing halo effect - the challenges of 'fugitive' colours
The reverse surface of the black pieces has a fluorescent paint finish, so that colour bounces off the wall behind to create a halo effect.
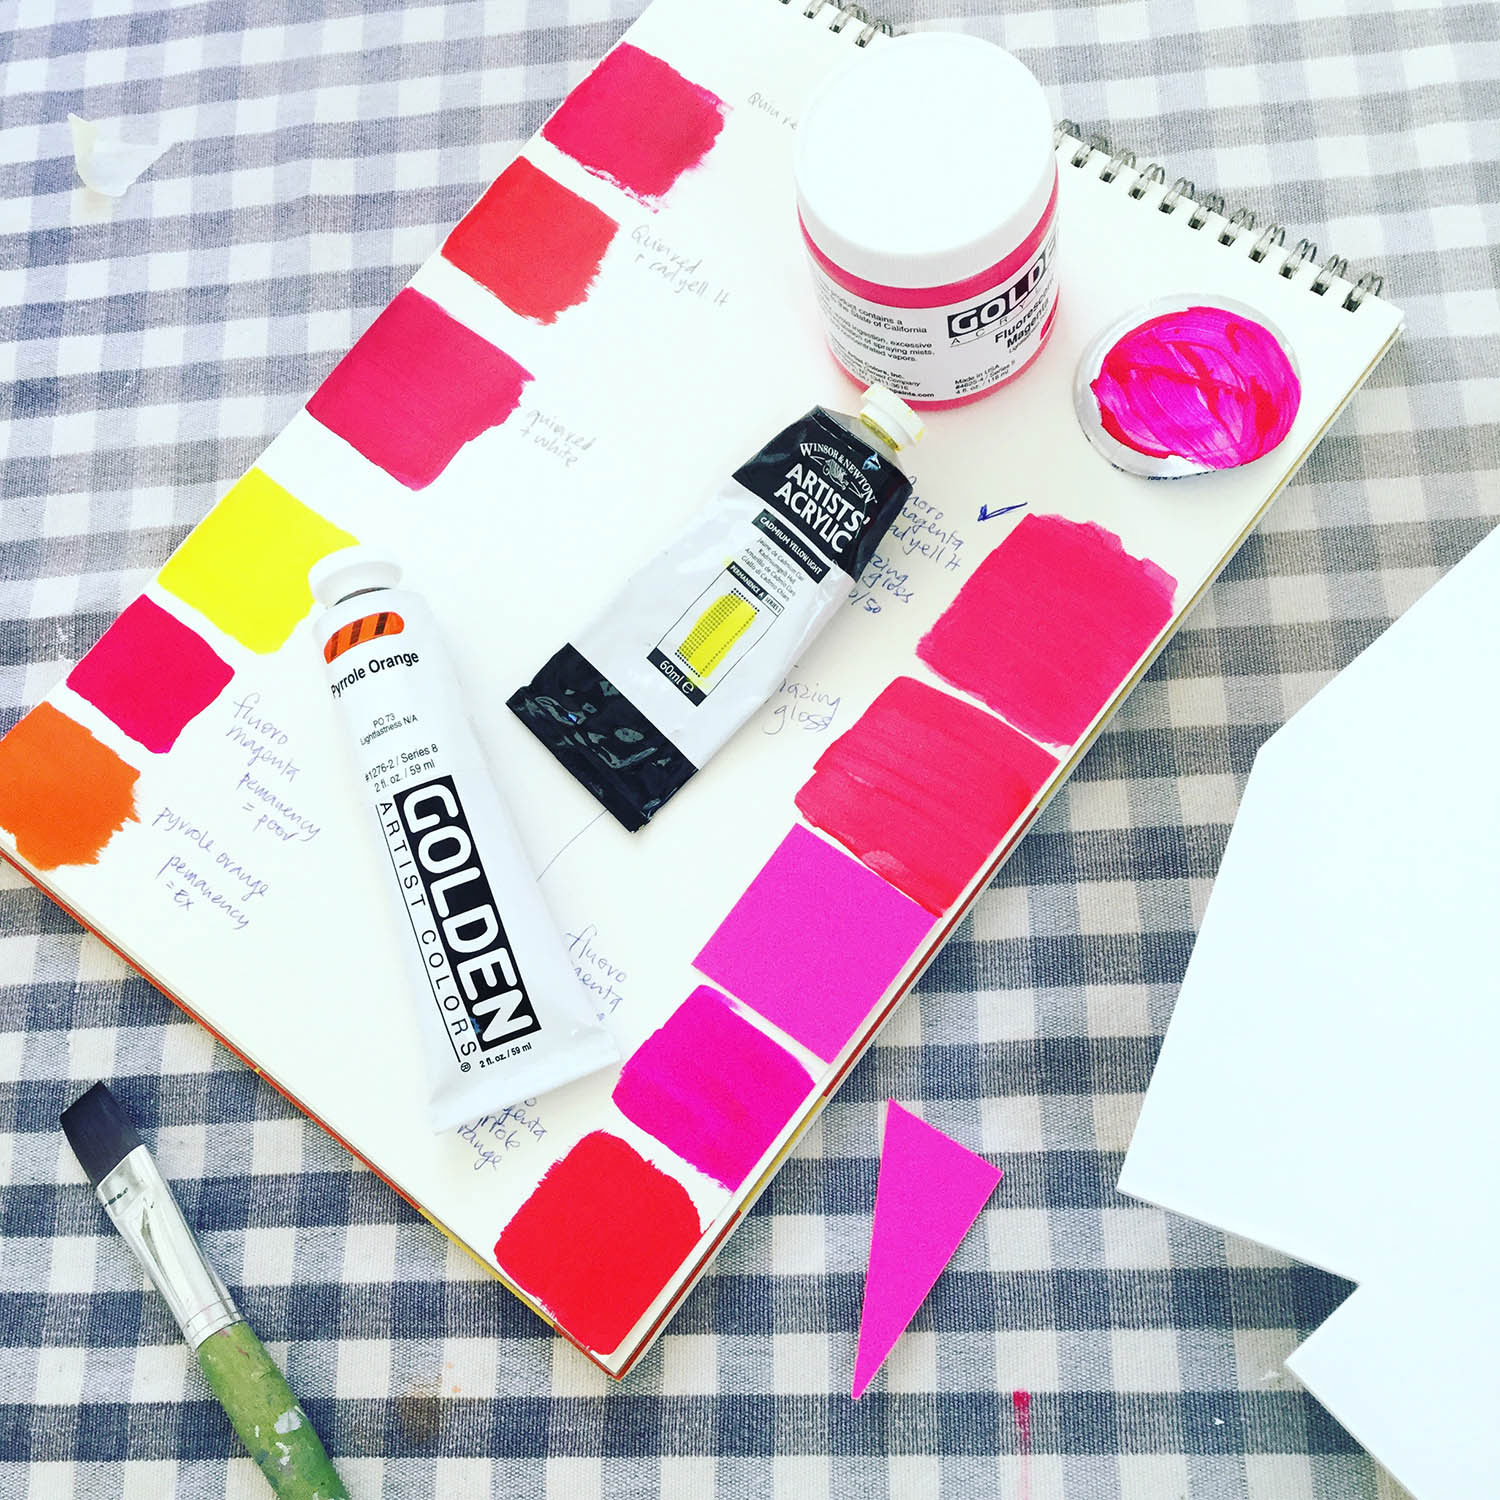
I tried this out with a cardboard mock-up first, using flourescent card on the reverse - turns out fluorescent paint is a lot more complicated than flourescent card, especially if you want it to remain fluorescent!! Flourescent colours are what is known as ‘fugitive’ colours, meaning that over time exposed to light and pollutants in the air (for instance aerosols) the super-bright pigments disappear leaving behind a duller colour. Ultraviolet light (UV) plays a big part in this - something we have a lot of here in New Zealand.
I jumped through all sorts of hoops to create a paint colour that is a mixture of flourescent (fugitive) paint pigments and a lightfast very bright acrylic paint so that if, or when, the flourescent paint loses its punch there will still be enough vibrancy to retain the glowing halo.
When I came to varnish the pieces to protect them from dust and grime, general knocks and cleaning I discovered a UV-protective artists varnish - hooray for that! With enough layers of this varnish the paint has greatly improved UV protection, and the varnish seals the paint away from pollutants so it shouldn’t lose its glow.... everything is a learning experience, I like that about art.
No crooked paintings
I’ve put a split batten on the back of these to space the work off the wall evenly and provide a firm attachment so they don't become accidentally ‘off-square’ on the wall. Or they can be hung on a standard picture hook. With earthquakes (and boisterous teenagers) I am always frustrated by crooked artwork, so I'm a fan of split battens. Crooked paintings are one of my pet peeves!
Experimenting to get the right balance of fluorescent and lightfast qualities
Halo effect on the black paintings. I also spent ages experimenting to get just the right brush finish on the large black areas.
Tinned tomatoes make excellent weights! (this shows the split batten on the back)
You can see more of these shaped paintings in detail by clicking here:> 3-dimensional work
I will be adding more to the website as they are completed.
Warp Speed 2018
If you enjoyed reading this then sign up here to find out when I post new articles or list new work, as well as other information that I hope you will find really interesting.


